The Navigation Architecture Component Tutorial: Getting Started
In this tutorial, you’ll learn how to use the Navigation Architecture Component, which simplifies the implementation of navigation in Android apps. By Ivan Kušt.
Among other goodies, Android Jetpack comes with the Navigation architecture component, which simplifies the implementation of navigation in Android apps.
In this tutorial, you’ll add navigation to a simple book-searching app and learn about:
- Navigation graphs and nested graphs.
- Actions and destinations.
- How to pass data between destinations.
- The
NavHostinterface. - Creating deep links.
The Navigation architecture component is still in early development, but it is already proving to be a powerful and handy tool, as you will see for yourself.
Why Do You Need Yet Another Component?
Navigating between screens — passing data, handling the back stack, implementing deep links, etc. — can be complicated. It also comes with quite a bit of boilerplate. To top it off, you should adhere to the new principles of navigation:
- The app should have a fixed start destination.
- A stack is used to represent the navigation state of an app.
- The Up button never exits your app.
- Up and Back are equivalent within your app’s task.
- Deep linking to a destination or navigating to the same destination should yield the same stack.
By using the Navigation architecture component, you provide a consistent and predictable experience to users — hassle and boilerplate free.
Getting Started
To use the Navigation architecture component, you must use Android Studio 3.2 or higher. Install it by following the instructions in our Beginning Android development tutorial. Make sure to install the latest stable release.
Next, download the materials for this tutorial using the Download materials button at the top or bottom of the tutorial.
Open Android Studio and import the starter project with File ▸ Open. Find the location where you extracted the starter project, highlight the root folder of the starter project, and click Open. The sample project is named Bookmans Treasure. Once the project is synced, build and run it.

If you see a blank screen, you’re on the right track.
Adding the Navigation Architecture Component
Open the build.gradle file in the app folder and add the following to the dependencies block:
implementation "android.arch.navigation:navigation-fragment-ktx:1.0.0-alpha05"
implementation "android.arch.navigation:navigation-ui-ktx:1.0.0-alpha05"
Wondering about the -ktx suffix in the library names? It signifies the Android KTX libraries that are super nice to use with Kotlin by making your code both more concise and readable.
Sync the project. Then build and run the app again.
It’s still blank, but hold tight — you are now ready to start working on the screen navigation.
Navigation Graph
A set of destinations and actions compose an app’s navigation graph:

The above represents the navigation graph for the Bookmans Treasure app. Nodes represent the screens and arrows show how you navigate between them.
You’ll add the navigation graph to the app now.
You must first enable the Navigation Editor. Click File ▸ Settings (or Android Studio ▸ Preferences on Mac), choose the Experimental category in the left panel, check Enable Navigation Editor:

Click OK and then restart Android Studio.
Now be sure Android is selected in the Project navigator.

Click on the res folder, press command+N (on Mac) or Alt+N (on PC) (or File ▸ New) and select Android Resource File.

A dialog to create a new resource will pop up. Under File name, enter nav_graph. Under Resource type, select Navigation:

Click OK.
Android Studio will create a new resource directory called navigation with a new file named nav_graph.xml. This is where your navigation graph will live.
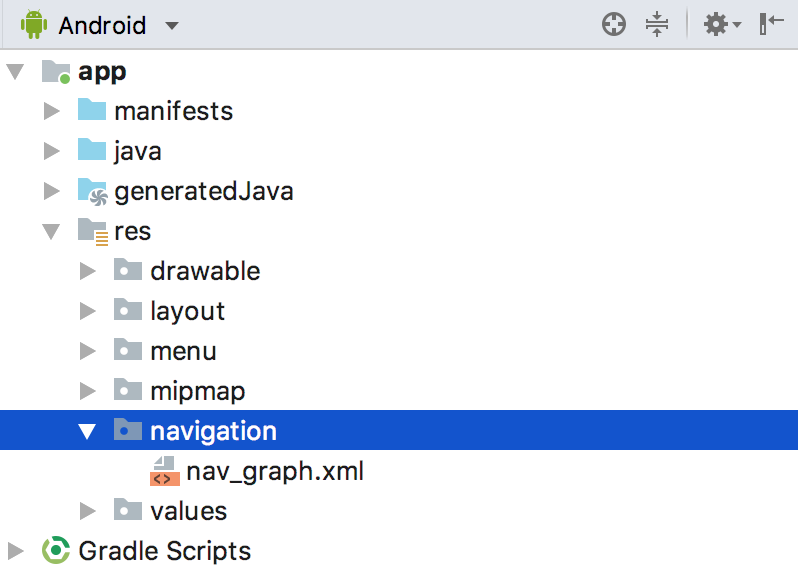
Opening nav_graph.xml, you can toggle between the Text editor and the Navigation editor by clicking the tabs at the bottom of the editor window.

Click on the Text tab to open the XML editor.
Destinations
Each destination represents a screen you can navigate to. By default, the Navigation architecture component includes support for Activities and Fragments. You’ll learn how to add custom types later in this tutorial.
Add the following between the navigation tags:
<fragment
  android:id="@+id/bookSearchFragment"
  android:name="com.raywenderlich.android.bookmanstreasure.ui.booksearch.BookSearchFragment"
  android:label="Book Search Fragment"
  tools:layout="@layout/fragment_book_search">
</fragment>
You might get an error on the tools:layout attribute. To fix it, add tools namespace declaration to the navigation tag:
xmlns:tools="http://schemas.android.com/tools"
You can do this manually or place your cursor on tools:layout and press Alt+Enter (on PC) or command+return(on Mac). You’ll get a Quick action pop-up:
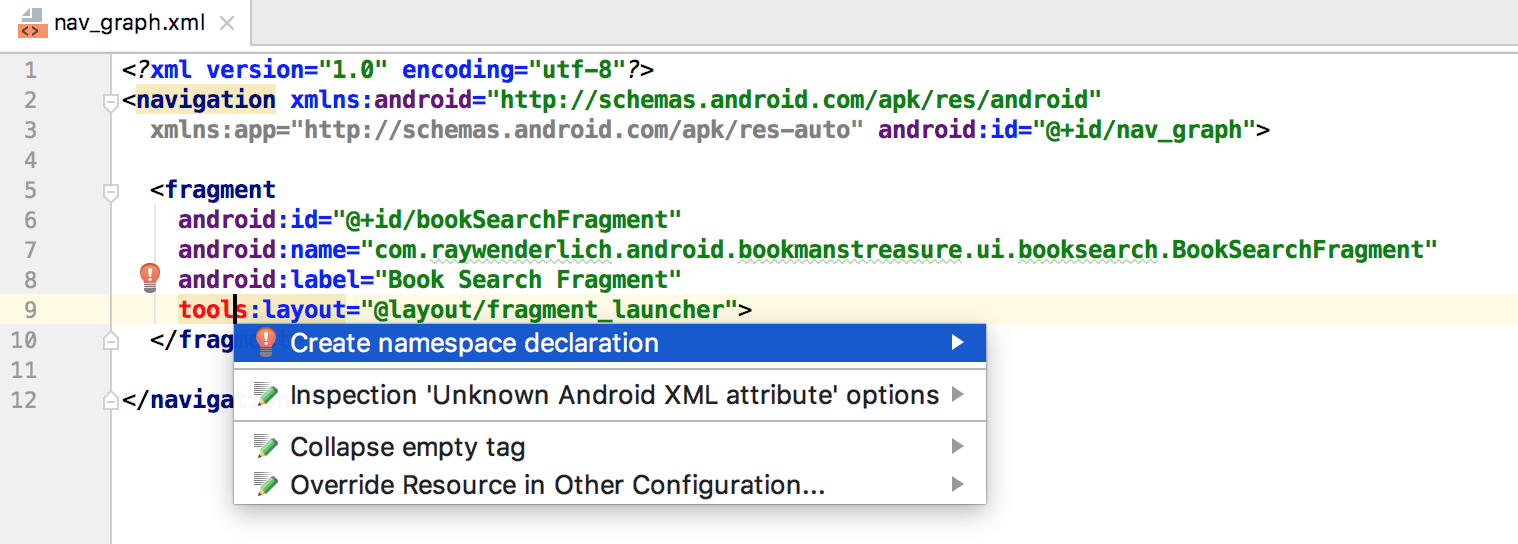
Choose Create namespace declaration.
This makes BookSearchFragment a destination. Fragment destinations have the following attributes:
-
android:id: A unique resource name for this destination. -
android:name: A fully qualified class name. -
android:label: TheFragmenttitle. -
tools:layout: TheFragmentlayout, rendered by the Navigation editor.
Build and run the app. Getting fed up with the blank screen yet?
Declaring a Start Destination
Every app needs a starting point. To declare a starting destination in the navigation graph, add the following attribute to the navigation tag:
app:startDestination="@+id/bookSearchFragment"
If the app namespace yields an error, follow the same set of steps you used above for the tools namespace to fix it. Build and run to make sure there are no errors. Seriously — blank screen, again?

You’re missing one more thing: the NavHost interface.
NavHost Interface
The NavHost interface enables destinations to be swapped in and out. The Navigation architecture component provides a default implementation: the NavHostFragment.
Open activity_main.xml layout file located in res/layout. Look for the FrameLayout with ID placeholder and replace it with the following fragment:
<fragment
  android:id="@+id/navHostFragment"
  android:name="androidx.navigation.fragment.NavHostFragment"
  android:layout_width="match_parent"
  android:layout_height="match_parent"
  app:navGraph="@navigation/nav_graph"
  app:defaultNavHost="true" />
Note the two new attributes:
-
app:navGraph: Specifies which navigation graph will be associated with the navigation host. -
app:defaultNavHost: If set totrue, the navigation host will intercept the Back button.
To ensure the Back button works properly, you also need to override the onSupportNavigateUp() method in MainActivity.kt. Paste this chunk of code anywhere in the class:
override fun onSupportNavigateUp() =
  findNavController(this, R.id.navHostFragment).navigateUp()
And add the import statement, if necessary:
import androidx.navigation.Navigation.findNavController
Now, build and run the project. No more blank screens!
